Weighing balance calibration is the process of verifying and adjusting a weighing scale to ensure its readings align with known standard weights. This ensures that the equipment measures mass accurately and reliably over time. Calibration helps in reducing measurement uncertainties and ensures regulatory compliance.
Importance of weighing balance calibration

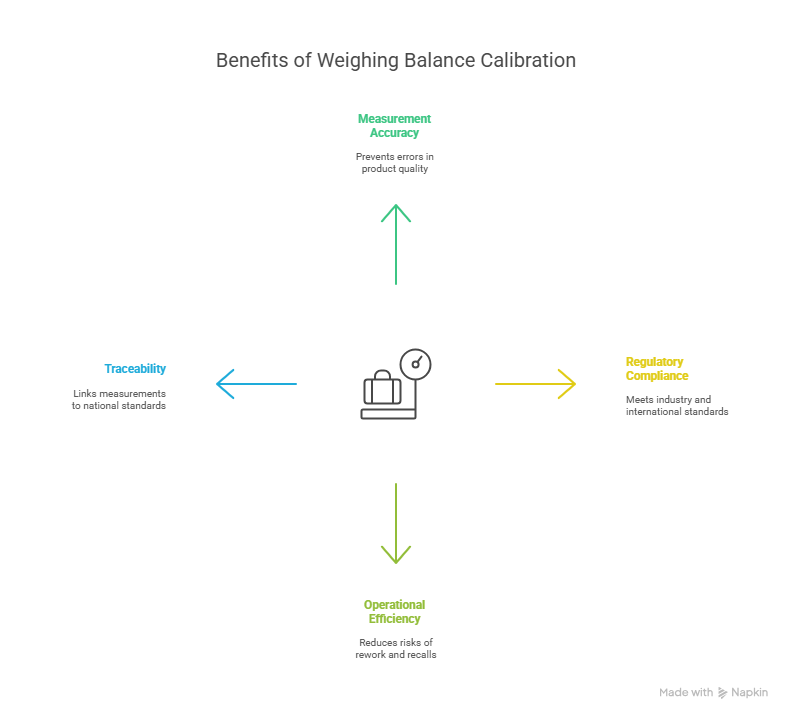
Routine weighing balance calibration provides several critical benefits:
- Measurement accuracy: Prevents errors that could impact product quality.
- Regulatory compliance: Meets industry and international standards such as ISO/IEC 17025.
- Operational efficiency: Reduces the risk of costly rework, product recalls, or compliance issues.
- Traceability: Links measurements to national or international standards.
Neglecting regular calibration can lead to significant discrepancies, especially in sensitive environments.
Types of calibration weights
Calibration weights (also known as test weights) are precision standards used to check and adjust balances. They are categorized by accuracy classes, depending on their intended application.
OIML classification:
- E1 & E2: High-precision weights for analytical balances.
- F1 & F2: Suitable for precision balances.
- M1, M2, M3: Used for general industrial applications.
ASTM classification:
- Class 0-1: Ultra-high precision laboratory use.
- Class 2-3: General laboratory applications.
- Class 4-7: Industrial and field use.
Choosing the appropriate classification ensures that calibration aligns with the balance’s resolution and application.
Materials used in calibration weights
Calibration weights are made from materials that offer stability, corrosion resistance, and minimal magnetic susceptibility:
- Stainless Steel: Preferred for high-accuracy applications due to resistance to corrosion and magnetic fields.
- Cast Iron: Durable and cost-effective for industrial use.
- Brass/Aluminium: Suitable for light-duty or educational use.
The material must be compatible with the environmental conditions and required precision.
How to perform weighing balance calibration

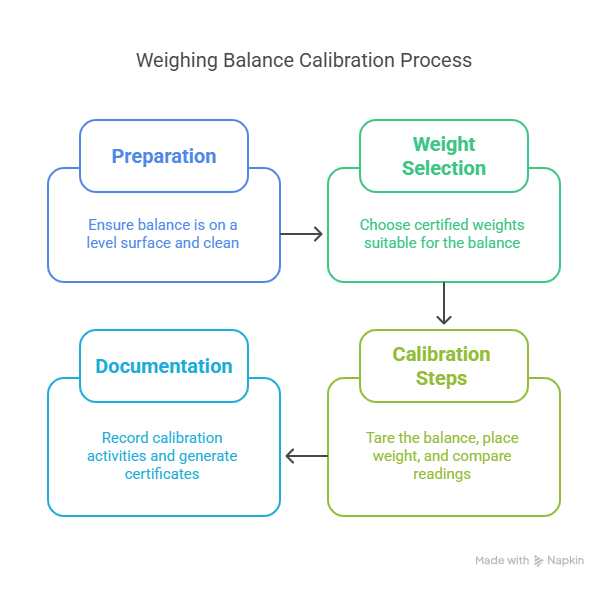
A detailed weighing balance calibration process includes:
1. Preparation
- Place the balance on a level, vibration-free surface.
- Ensure it is clean and has reached ambient temperature.
- Verify environment conditions such as humidity and temperature.
2. Weight selection
- Use certified calibration weights suitable for the balance’s capacity and resolution.
3. Calibration steps
- Tare the balance.
- Place calibration weight and note the reading.
- Compare displayed value to known weight.
- Adjust balance settings if discrepancies are found.
4. Documentation
- Record all calibration activities including weights used, results, date, and operator details.
- Generate traceable calibration certificates.
Internal vs. External Calibration
- Internal Calibration: Built-in weights automatically adjust the balance. Convenient but less reliable for compliance.
- External Calibration: Performed using certified weights and considered more accurate for formal documentation.
External weighing balance calibration is essential for audit trails and regulatory compliance.
Best practices for weighing balance calibration
- Use gloves or tweezers to handle weights.
- Calibrate in a temperature-controlled environment.
- Clean both balance and weights before calibration.
- Store weights in their designated cases.
- Follow the manufacturer’s recommended calibration intervals.
Conclusion
Weighing balance calibration is a critical process for any operation where measurement accuracy is essential. Regular calibration ensures quality control, regulatory compliance, and operational efficiency.
At Prism Calibration, our accredited services help you maintain precision, traceability, and confidence in your weighing instruments.
FAQs
Typically every 6 to 12 months, depending on usage, environment, and regulatory requirements.
Only certified weights that match the required accuracy class and traceability standards.
No. Internal calibration is useful for routine checks but external calibration is essential for audit and certification.
It can lead to measurement drift, non-compliance, inaccurate data, and product quality issues.
Yes, especially those in pharmaceuticals, food, chemical, and regulated laboratory environments.
Author Bio
Mr. Parthiv Kinariwala is a leading expert in calibration and testing services, with over 20 years of experience in the industry. As the founder of Prism Calibration, established in 2004, Mr. Kinariwala has been at the forefront of delivering precise and reliable calibration, testing, and validation solutions across various industries. His expertise in providing services that meet international calibration standards has earned the trust of major clients, including Reliance Industries, Zydus Cadila, Indian Oil, ONGC, Adani, and Tata.
With a deep understanding of instrumentation, measurement accuracy, and industrial testing, Mr. Kinariwala ensures that each client receives exceptional service tailored to their specific needs. His unwavering commitment to quality and precision has established Prism Calibration as a trusted partner for some of the largest and most respected organizations in the industry.


